How to Make Matcha: A Complete 5 Step Beginner’s Guide
Learning how to make matcha at home is one of those skills that sounds more complicated than it is — and once you get it right, it becomes one of the most satisfying parts of your morning. The process takes about three minutes. The result is a vivid green bowl of something that tastes genuinely alive: grassy, slightly sweet, with a clean finish that coffee just doesn’t deliver.
I started making matcha at home after learning about the different health benefits and listening to my wife rave about how good matcha could be when made right. Making it yourself gives you control over every variable — the water temperature, the ratio, the powder quality — and those variables are exactly what separate great matcha from disappointing matcha.
This guide covers everything from equipment to technique to troubleshooting. If you’re a complete beginner, start at the top and work through it in order. If you’re already familiar with the basics and just want to refine your method, jump to the section that’s relevant. Either way, by the end you’ll know how to make a proper bowl of matcha at home — and how to turn it into a latte if that’s what you’re after.
What You Need to Make Matcha
The traditional matcha setup is minimal. You don’t need a lot of gear, and you don’t need to spend a fortune. Here’s what actually matters.
The Essential Tools
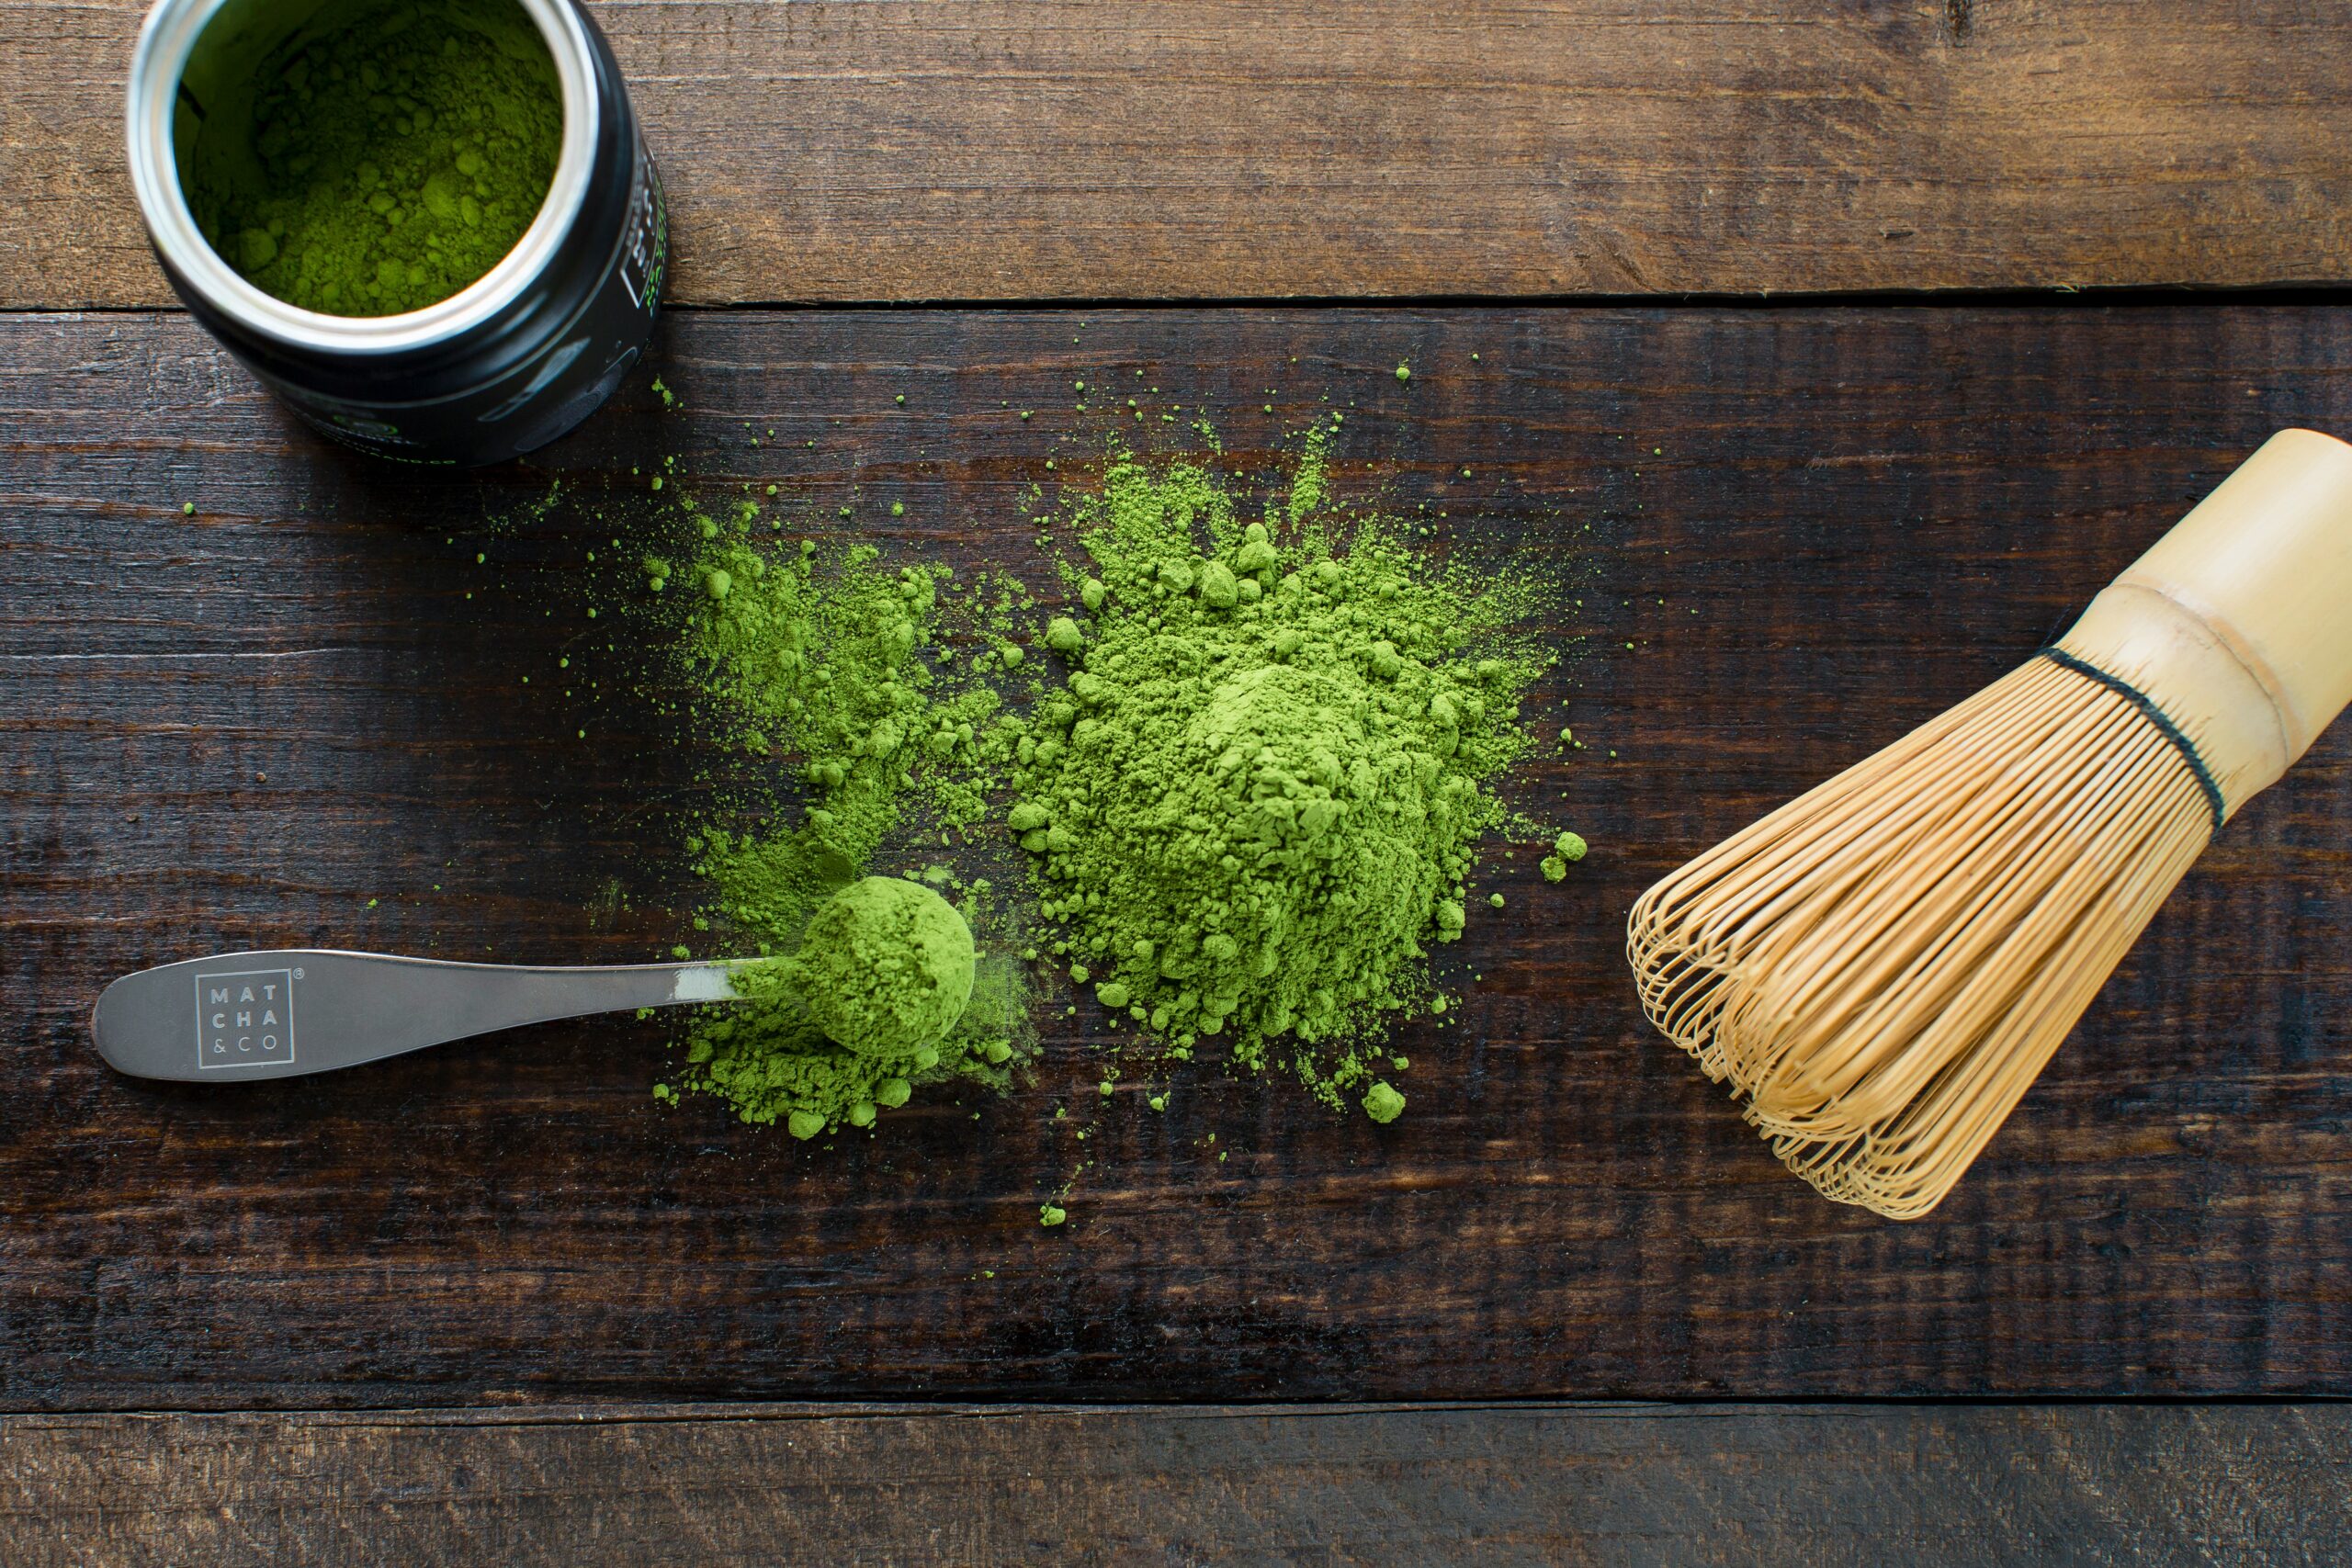
Bamboo whisk (chasen). This is the one piece of equipment worth buying properly. A chasen is a bamboo whisk with anywhere from 60 to 120 fine tines, designed to dissolve matcha powder and create foam without clumping. Nothing else replicates the texture it produces. A decent chasen costs $10–15 on Amazon and lasts six months to a year with reasonable care. [Internal link: chasen buying guide — add when published]
Matcha bowl (chawan). A wide, shallow bowl makes whisking much easier than a narrow mug — you need room to work the whisk in a fast W or M motion. Traditional Japanese chawan are beautiful, but honestly, any wide ceramic bowl or even a Pyrex measuring cup works fine when you’re starting out.
Bamboo scoop (chashaku). A small bamboo scoop that holds approximately half a teaspoon of matcha. Not strictly required — a regular measuring spoon does the same job — but it’s usually included in matcha starter kits and adds to the ritual.
Fine-mesh sifter. Matcha clumps aggressively, and clumps mean lumpy tea. A $3 fine-mesh sifter (the kind sold at Asian grocery stores for baking) is one of the best investments you can make. Sift directly into your bowl before adding water.
Budget-Friendly Alternatives
No chasen? A small electric milk frother (under $10 from Amazon) does a surprisingly good job, especially for making matcha lattes. It doesn’t produce quite the same silky foam as a bamboo whisk, but it works well and is much faster to clean. More on this in the section on making matcha without a whisk.
Choosing Your Matcha Powder
The powder matters more than any other variable. You can whisk perfectly and nail the water temperature, but if you start with bad matcha, you’ll end up with bad tea. Here’s what to look for.
Ceremonial vs. Culinary Grade
Ceremonial grade matcha is shade-grown, stone-milled from the youngest leaves, and intended for drinking plain — just powder and water. It’s the grade used in traditional Japanese tea ceremony. Culinary grade is made from later-harvest leaves, slightly more robust in flavor, and designed for mixing into lattes, smoothies, and baked goods.
For this guide, which focuses on making plain whisked matcha, ceremonial grade is the right choice. A good entry-level ceremonial powder like Ippodo’s Unkaku or Encha’s Ceremonial Grade produces a noticeably sweeter, less bitter cup than most culinary powders. If you plan to make primarily lattes, a quality culinary grade works well and costs less per serving.
What Good Matcha Looks Like
Color is your quickest quality indicator. Good matcha is bright, saturated jade or emerald green. It should almost glow. Poor matcha is dull, yellowish, or brownish — a sign of oxidation, low-quality leaves, or both. Run a pinch between your fingers: quality matcha feels like fine silk, not coarse sand. If it’s gritty, it’ll dissolve poorly and taste flat.
Origin also matters. Japanese matcha from Uji (Kyoto), Nishio (Aichi), or Yame (Fukuoka) is consistently more reliable than matcha from other countries. Many cheap powders labeled “organic” are Chinese-grown and tend toward bitter, astringent profiles. That’s not a rule, but it’s a pattern.
How to Make Matcha: Step-by-Step
This is the traditional preparation method for how to make matcha, usucha, or “thin tea” — the everyday style you’ll make at home. It takes about three minutes once you’ve done it a few times. This recipe is strongly inspired by Ippodo’s recipe.
The Matcha to Water Ratio
For thin tea (usucha): use 1 teaspoon (about 2g) of matcha powder per 2–3 oz (60–90ml) of water. This makes a concentrated, flavorful bowl. Some people prefer a smaller ratio of 1–2g per 4 oz for a lighter cup — perfectly fine if you want something milder.
The most common beginner mistake is using too much water, which dilutes the flavor and makes the matcha taste flat. Start with 2–2.5 oz and adjust to your taste from there.
Water Temperature for Matcha
This is the variable that trips up almost everyone at first. Do not use boiling water. Boiling water (212°F / 100°C) scorches the amino acids in matcha and brings out harsh bitterness. The correct temperature range is 165–175°F (75–80°C).
If you don’t have a temperature-controlled kettle — and you absolutely don’t need one — here’s the practical trick: boil your water, then pour it into your bowl or a separate cup and wait 2–3 minutes before using it. That brings it down to approximately the right range. After you’ve done this a handful of times, you’ll develop a feel for it.
The Steps
- Warm your bowl.
- Sift your matcha.
- Add water.
- Whisk.
- Drink immediately.
Here’s each step in full:
1. Warm your bowl. Pour a small amount of hot water into your chawan, swirl it around, and discard. This prevents the matcha from hitting a cold surface, which affects the flavor and temperature of your tea.
2. Sift your matcha. Place your sifter over the warmed bowl and push 1–2 teaspoons of matcha through it with a small spoon or your finger. Breaking up the clumps here makes everything easier. Don’t skip this.
3. Add water. Pour 2–2.5 oz of water at 165–175°F into the bowl. Pour gently — pour it against the side of the bowl or onto the back of a spoon to slow it down rather than dumping it directly onto the powder.
4. Whisk. Hold the chasen loosely — not in a tight fist — and whisk in a fast W or M motion across the bottom of the bowl. The goal is to fully dissolve the powder and build a light layer of foam on the surface. This takes 20–30 seconds. You’ll know it’s done when there are no visible powder clumps and the surface has a consistent, fine-bubble foam.
5. Drink immediately. Matcha settles quickly. Drink it within a few minutes of whisking for the best flavor and texture. Pick up the bowl with both hands, turn it 90 degrees clockwise (a small nod to the traditional tea ceremony form), and drink.
How to Make Matcha Without a Whisk
No chasen? You have two good options, and one that I’d skip entirely.
Electric Milk Frother
This is my honest recommendation for beginners who aren’t sure they’ll stick with the matcha habit. A small handheld frother (the kind you’d use for coffee, under $10) dissolves matcha faster than a bamboo whisk and produces a latte-ready froth. The texture is slightly different — finer bubbles, less of the silky mouthfeel you get from a chasen — but for everyday use, it’s excellent.
Method: sift your matcha into a small cup, add 1 oz of warm water (165°F), and froth for 10–15 seconds until fully dissolved. Then add the remaining water or milk.
Shaker Bottle
Add your sifted matcha to a small jar or shaker bottle with a tight lid, add 2–3 oz of water at the right temperature, and shake hard for 15–20 seconds. Works well for making iced matcha since you can add ice directly after shaking. The foam is minimal, but the matcha dissolves completely.
What to Avoid
A regular spoon or fork will not properly dissolve matcha no matter how long you stir. You’ll end up with clumps and an uneven flavor. If you’re going to take matcha seriously — even casually seriously — spend the $10 on a chasen. It’s the single biggest upgrade you can make to your matcha routine.
How to Make a Matcha Latte
Making a matcha latte is essentially the same process as making plain matcha, with steamed (or frothed) milk added. The key is building the matcha base first — concentrate the matcha in a small amount of water, then add your milk. If you just dump milk straight onto dry matcha powder, you’ll get clumps and an uneven drink.
Hot Matcha Latte
Sift 1.5–2 teaspoons of matcha into your bowl. Add 1.5–2 oz of water at 165–175°F and whisk or froth until fully dissolved. Separately, heat 6–8 oz of milk (oat milk works beautifully here — its natural sweetness complements matcha) and froth it. Pour the frothed milk over your matcha concentrate. Sweeten with honey, maple syrup, or vanilla syrup if you like.
Iced Matcha Latte
Same steps as above, but use cold milk instead of steamed milk and pour everything over ice. If you want a café-style brown sugar matcha latte: dissolve a teaspoon of brown sugar in your matcha concentrate before adding the milk. The caramel notes of the brown sugar work surprisingly well against the grassiness of the matcha.
Why Does My Matcha Taste Bitter?
Bitterness is the most common matcha complaint, and it almost always traces back to one of three things.
- Water too hot. The most common culprit. Let your boiled water sit for 2–3 minutes before using it. This single change fixes most bitterness problems.
- Low-quality powder. Cheap matcha made from older, coarser leaves will always taste more bitter, regardless of how you prepare it. It’s worth spending a bit more on a quality Japanese powder. The difference is significant.
- Too much powder. A heaping tablespoon of matcha isn’t going to give you a stronger, better matcha — it’s going to give you something intensely bitter and unpleasant. Start with 1 teaspoon (2g) and adjust upward slowly.
| 🍵 Quick Troubleshooting Reference Bitter taste → water too hot, or powder quality too low. Clumps in the bowl → skipped sifting, or whisking too slowly. Flat, dull flavor → powder is oxidized or past its best-by date. Foam disappears quickly → normal; drink promptly after whisking. Powder won’t dissolve → water temperature too low, or wrong type of powder (food-grade is harder to dissolve). |
Traditional Matcha Preparation: A Brief Note
Everything in this guide is grounded in traditional Japanese matcha preparation, even if I’ve framed it in practical Western terms. The techniques — sifting, the water temperature, the whisking motion, drinking promptly — come directly from the Japanese tea ceremony tradition known as Chado, or “the Way of Tea.”
You don’t need to know anything about the tea ceremony to make good matcha at home. But if you’re curious about the cultural context behind what you’re doing, it’s genuinely interesting. The precision in traditional matcha preparation isn’t ceremonial fussiness — it’s the result of centuries of refinement that produced the best-tasting method. The fact that the right water temperature happens to be 165–175°F isn’t arbitrary.
Frequently Asked Questions
| How much matcha do I use per cup? 1–2 teaspoons (2–4g) for a standard serving of thin tea (usucha) in 2–3 oz of water. For a matcha latte, use 1.5–2 teaspoons in 1.5–2 oz of water as your base before adding 6–8 oz of milk. |
| Can I use regular tap water to make matcha? Yes, but filtered water produces noticeably better results if your tap water is heavily chlorinated or mineral-heavy. The clean flavor of good matcha comes through more clearly when the water isn’t competing with it. |
| How long does matcha stay fresh after opening? An opened tin of matcha is best used within 4–6 weeks. Store it in a cool, dark place — a drawer or cupboard away from heat and light. Do not refrigerate (condensation ruins it). A vivid green color means it’s fresh; dull or yellowish powder has oxidized. |
| Is there a difference between Japanese and Chinese matcha? Yes. Japanese matcha — particularly from Uji, Nishio, and Yame — is the standard for drinking-grade matcha. Chinese-grown matcha tends toward bitterness and variable quality, and is typically used as an ingredient in baked goods or supplements rather than drunk plain. For making matcha at home, Japanese origin is strongly preferred. |
| How much caffeine is in a bowl of matcha? Roughly 60–80mg of caffeine per 2g serving, depending on the grade and preparation. This is less than most cups of coffee (95+ mg) but the caffeine works differently in matcha — paired with L-theanine, an amino acid unique to shade-grown tea, it produces a calm, sustained focus rather than a sharp spike and crash. |
The Bottom Line
Making matcha at home comes down to four things: good powder, water at the right temperature, a sifter, and a bamboo whisk. Get those right and you’ll consistently produce something that tastes better than most café matcha — at about a tenth of the price.
The first few times, focus on the water temperature and the sifting step. Those two habits have the biggest impact on flavor and fix the most common problems beginners run into. Everything else — technique, equipment upgrades, experimenting with ratios — you can refine over time.
If you want to go further, the related guides below cover the next steps: how to choose and care for a bamboo whisk, how to nail the water-to-matcha ratio for every preparation style, and how to make an iced matcha latte that genuinely competes with the café version.
🔗 Related Reads :
• What Is a Chasen? The Matcha Whisk Explained
• Iced Matcha Latte Recipe (Better Than Any Cafe)
• Ceremonial vs. Culinary Matcha: What’s the Actual Difference?
• How to Whisk Matcha Properly (No Lumps, Perfect Foam Every Time)
• Matcha to Water Ratio: The Simple Guide for Any Preparation